Posting engaging content allows you to distinguish your brand and grab your visitors’ attention. In other words, WordPress posts are the substance of the customer experience on your website, even if you are not selling goods.
Table of contents
Steps To Add A New Post In WordPress
To add a new blog post in WordPress, go to your WordPress Dashboard and navigate to Post → Add New.

1. Title and Content
The title and content of the post are important for WordPress SEO. While it is possible to publish without titles, readers will need extra help to find the WordPress post, which hurts the website’s user experience.
Title and content boxes will appear when you open the visual editor. You’ll automatically see an add title field at the editor’s top.
Right below the title field is space to add any content type using blocks. If you’re starting with text, begin writing the blog post.
To add the second block, click on the + k icon on the top left of the screen with the WordPress logo.

There are blocks for all common content types, including paragraphs, columns, and headings. You can also add widgets, such as the latest comments and search. There are also blocks designed to embed third-party content.
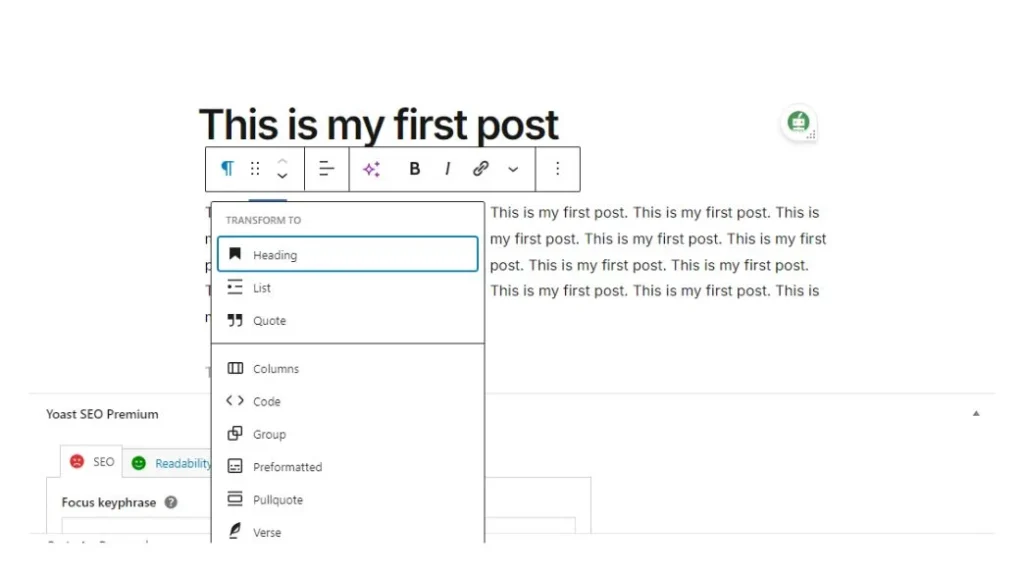
You can also transform existing blocks. For instance, you can change a paragraph into a column, heading, or quote by clicking on the block icon button.
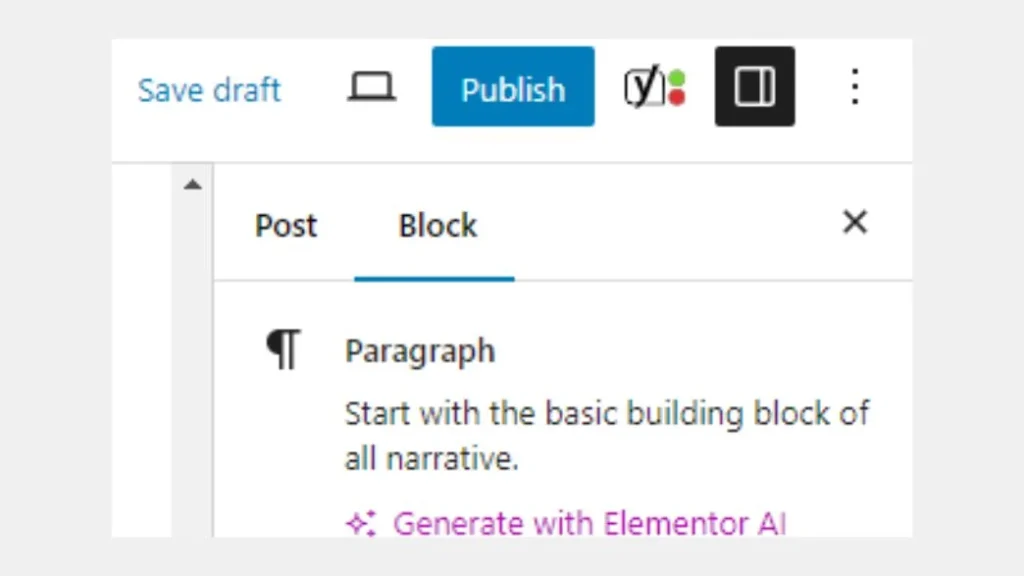
To make further edits, click on the WordPress post settings icon on the upper right corner of the screen. Then, click on the block section to see the editing options for all blocks.
If you find blocks too complicated, the Classic block lets you add content as you would using the Classic editor. Then, it converts the content back to block form.
2. Add Images
It’s easier to capture visitors’ attention with images. Well-optimized WordPress images make your posts more appealing, speed up your website, and improve your SEO.
There are 2 main image blocks: an image box for uploading a single picture and a gallery block in which multiple images can be added to the grid layout. There are 3 ways to upload an image in the WordPress block editor.
- Drag and drop the media directly into the chosen block.
- Add existing media from the media library
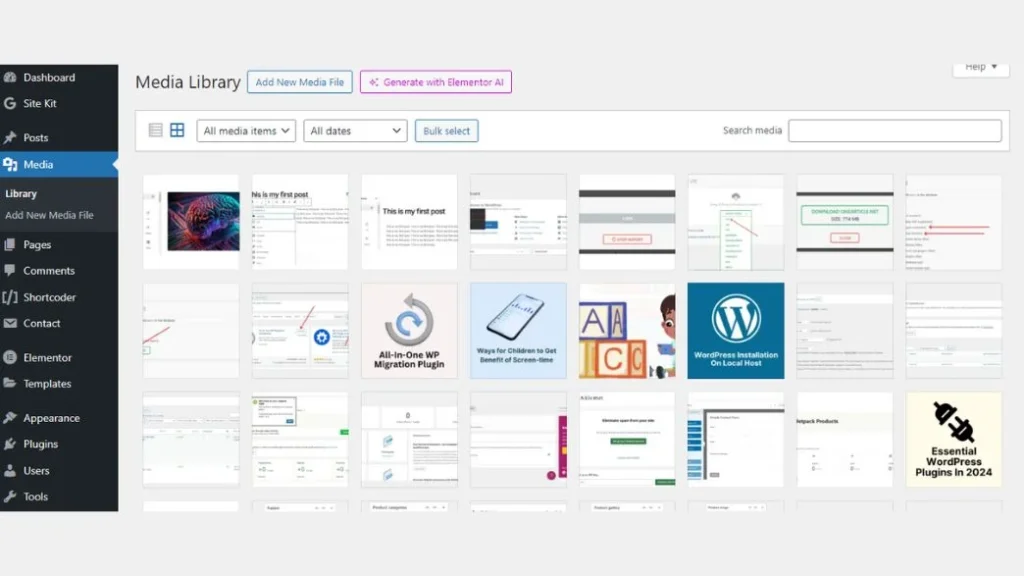
- Upload a new image by going to the WordPress Dashboard→ Media→ Add New.

To edit the image, click it and head to Settings → Block. You can change an image’s style, size, and dimensions there. Use the default WordPress image sizes or customize them to suit your website.
3. Add Other Media Files
Other media files enhance the visual appeal of WordPress posts, including audio, video, and downloadable documents.
For uploading a media file, go to WordPress Dashboard → Media → Add New.
You can also add media files directly from the Block Editor. Click on the + sign, and choose the media section.
Another way to add images, audio, and video is by copy-pasting the file URL in the blocks. As you can see this media is not hosted on your server, so it helps in reducing the load on hosting resources.
4. Add a Featured Image
A feature image or post thumbnail is a picture that appears in search engines or on social media when a WordPress post is shared. It helps in attracting visitors, boosts value content, and improves SEO.
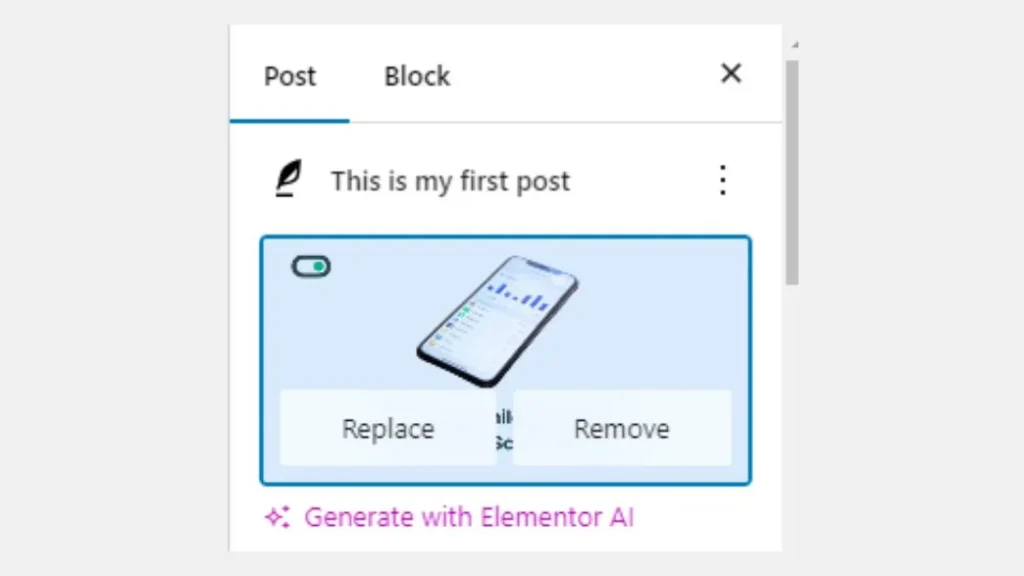
Open your editing screen to add a featured image. Go to Settings → Post → Featured image, and click on the option to set a featured image. It will take you to the Media Library, where you can pick an image.
Choose the image wisely. This is the first thing your WordPress site visitors will see before opening the post content.
The image you select can be edited with the help of the media library tools on the right side. You can change the alt text, caption, and description of the image. To change the post featured image, click on the replace image button at the bottom of the settings section.
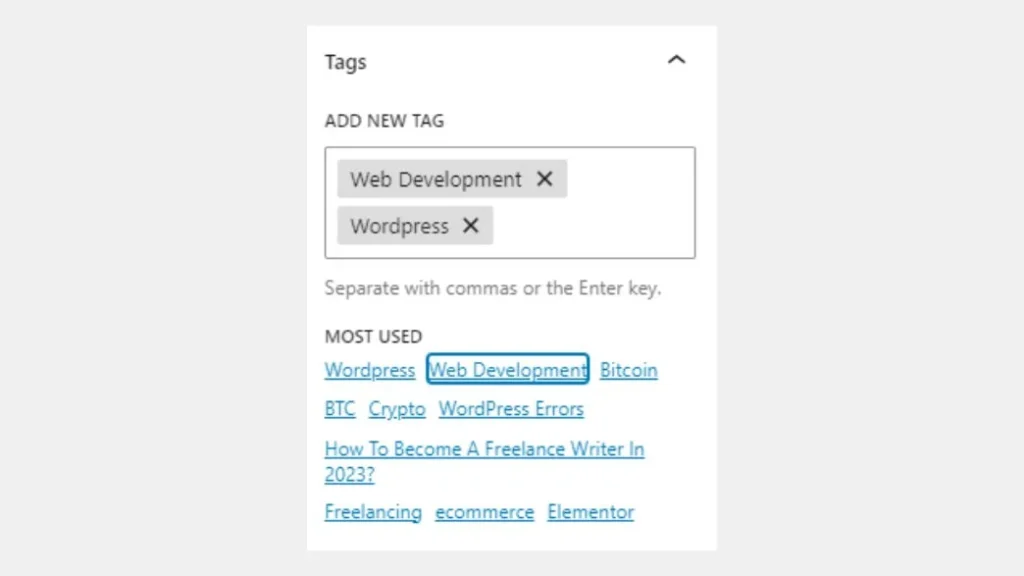
5. Categories and Tags
Adding WordPress post categories and tags is necessary for SEO and website organization. This is very important for the user experience, as visitors can quickly locate other WordPress posts within the same category.
Categories cover the general topic of the blog. Meanwhile, WordPress tags are more specific to the individual post. For example, when you write a blog post about a website SEO, the tag would be similar to WordPress SEO, and the category would be SEO.
Remember, you can assign multiple categories and tags to your post.
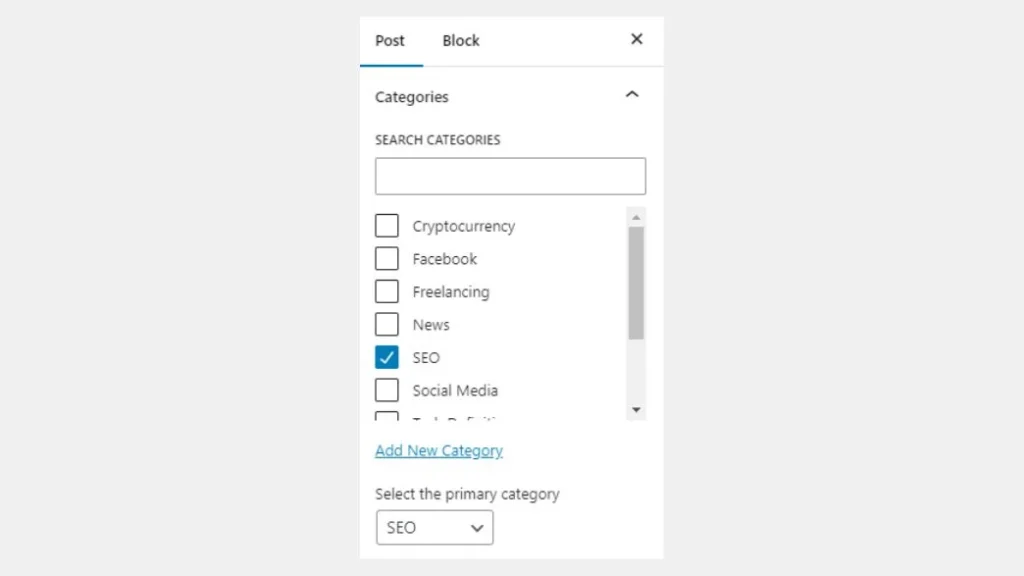
If you want to add a new category or tag, go to Dashboard → post → categories or tags. From there, edit the name, post URL slugs, and description. You can then view all the posts under the categories and tags.
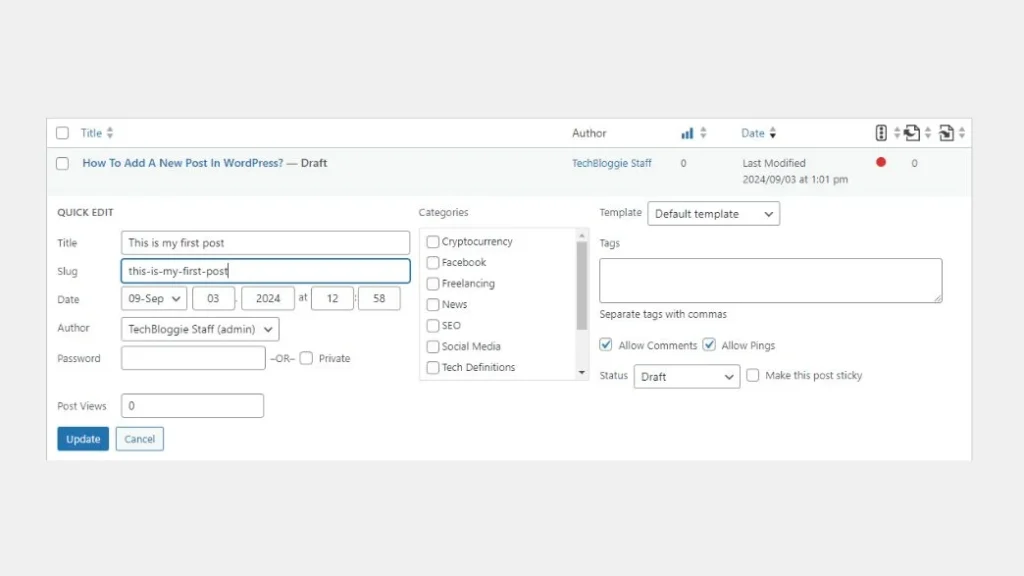
6. Set Permalinks or Slugs
It is an essential part of on-page SEO, permalinks or slugs increase the post rankings on search engines.
Permalinks stands for permanent links, WordPress post URL is generated from the post title. Meanwhile, the part of the URL that automatically follows the title is called the post slug or URL slug. You can edit the post slug by going to settings → post → permalinks.
Remember that commas, quotes, and apostrophes are invalid URL characters. They will automatically be replaced with dashes.
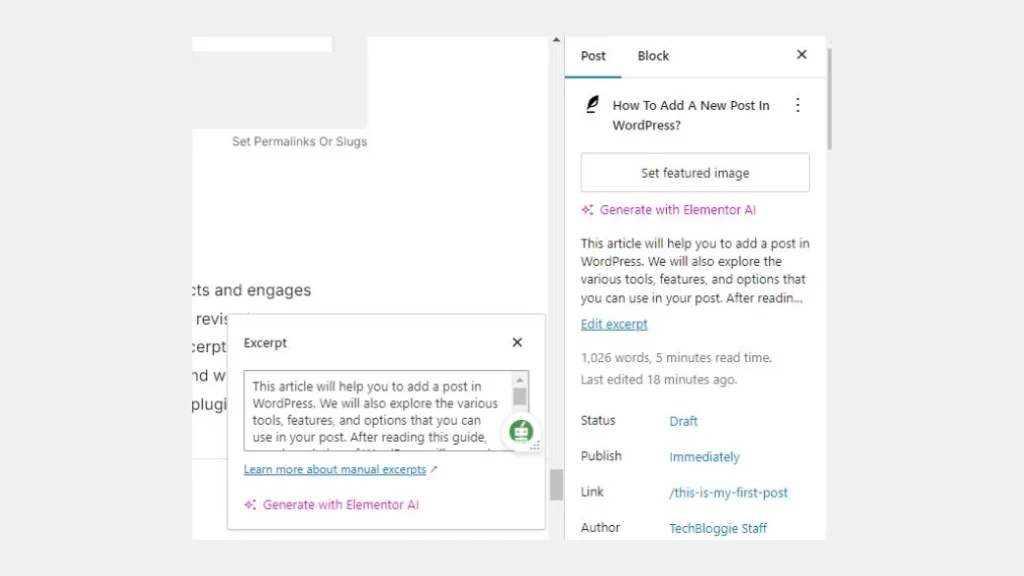
7. Adding post Excerpts
An excerpt is a summary or short description of your blog post. It attracts and engages readers because the title and featured image sometimes need to be revised.
WordPress will automatically use the first 55 words to generate excerpts. However, you can customize it, go to settings → post → excerpts, and write in the box. Here you can also set the limits of these words from HTML code or plugin.
8. Publish
Now that you know your options and processes, it’s time to publish the draft article. When you click on the publish button, it shows the visibility of your post, publish date and time, and suggestions from WordPress.