Creating an online store using woocommerce involves several steps performed sequentially to get desired results. Most people use Shopify for e-commerce nowadays as it’s a trending CMS for online shopping websites.
But you can’t deny the power of woocommerce and WordPress. In this guide, I will explain each step with visuals so you can set up your next online store using woocommerce in WordPress.
Table of contents
What is WooCommerce and Why it is used?
Woocommerce is a plugin of WordPress that adds e-commerce functionalities like Product, Cart, and Checkout pages in any WordPress Website.
It is mainly used to automate the process of creating e-commerce pages without doing much effort. The good part is, it’s totally free! (You can always get Paid Addons for additional functionalities)
So below are the steps that you can follow to create your online store by yourself.
Step 1: Get a Reliable Hosting Provider like Hostinger
The first step to start creating your online store using woocommerce is to select and purchase reliable and fast hosting. I recommend you to use HOSTINGER as I have been using it personally for the past 4 years.
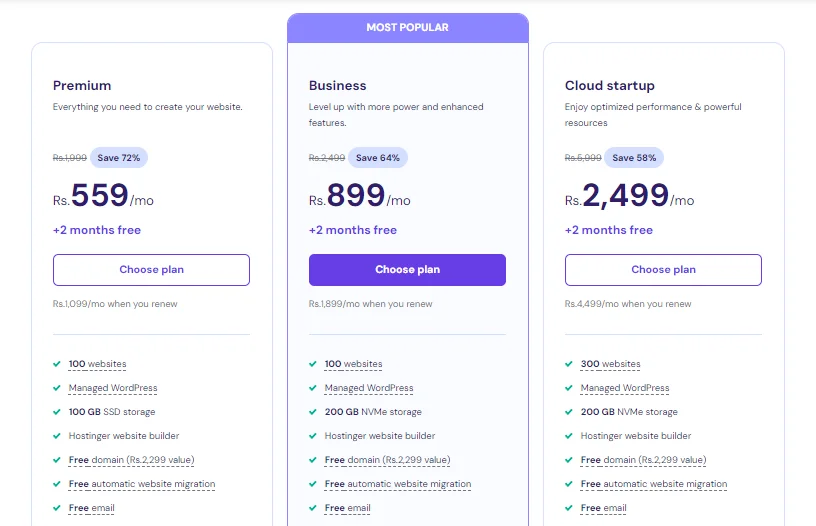
They are providing exclusive pricing plans for shared hosting that can be the best fit for your e-commerce website.

Which Price Package Suits You?
Selecting the Price Package completely depends on your website or business needs. If you are planning to market just a limited number of products, you can go for the PREMIUM plan. (Not Recommended)
The best among all others is the BUSINESS plan. It comes with a lot of extra features like:
- 200GB NVMe Storage
- 100 Business Emails
- Unlimited Bandwidth
- Free Domain (value $13)
- Free CDN
- Daily Backups
- Staging Tool
- A lot of AI tools
Step 2: Setting Up WordPress on Hostinger
Once you have signed up, Hostinger will prompt you to install WordPress by guided setup. Just follow the on-screen instructions and you will be good to go.

Claim Your Domain For Free
You can search for business names according to your niche and search for .com, .net, or .org domain extensions. Once finalized, just click on claim this domain and it will be added to your account.
You may receive an email to verify the domain name, so it’s better to check twice for it.
Installing WordPress Manually in Hostinger
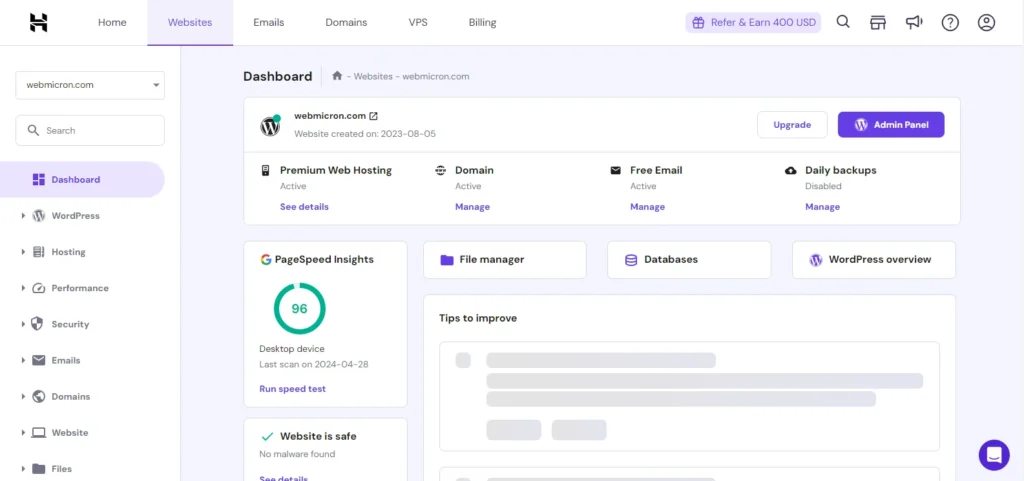
In case, you have skipped all the on-screen instructions to install WordPress. Don’t worry, we have covered you here. When you log in to your newly created hostinger account, You will see a bunch of options in the top nav bar like Home, Websites, Emails, Hosting, and so on.
You just have to click on the manage hosting button to be automatically redirected to the main domain admin panel. Here you can manage everything related to your website like Database, WordPress, Caches, Emails, and much more.
To Install, Just click on WordPress in the left sidebar scroll to the bottom where it says “Install Another WordPress” and click on the button.
A popup will appear, Just Enter the website name, admin email, and password, and click Install.
Step 3: Create Required Pages for your e-commerce store
Every online store must have some legal pages such as Privacy Policy, Refund Policy, Terms and Conditions, and Disclaimer.
To create these pages just follow these steps:
- Go to WordPress Dashboard
- Click on Pages
- Click Add New Page
- Enter the Page title
- Add the text content of the Page
- Click Publish.
Repeat this process for all of the pages you need for your Online store.
Step 4: Install WooCommerce Plugin in WordPress
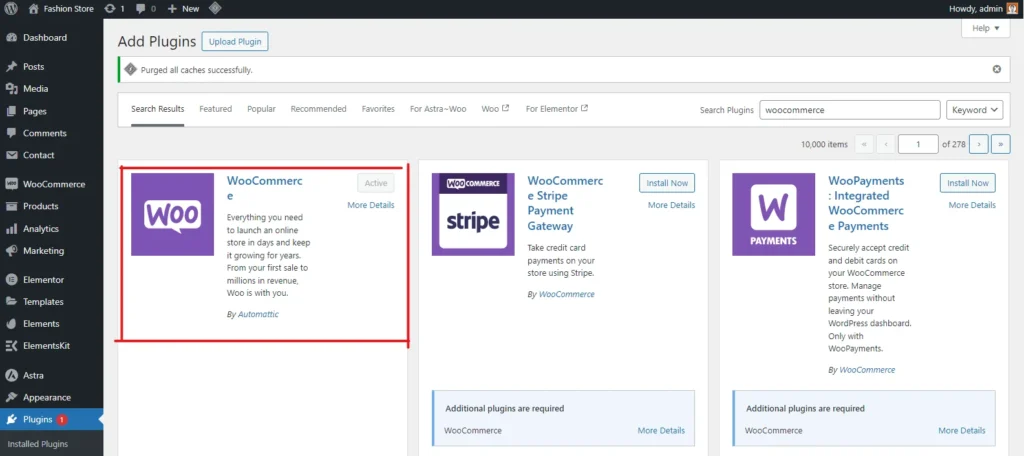
To add e-commerce functionality to your website, you have to install WooCommerce Plugin from Plugin Library. Follow these steps to install it:
- Go WordPress Dashboard
- Click on Plugins in the left sidebar.
- Click Add New Plugin.
- Search for WooCommerce.
- Click Install and then Activate.

You will see, some extra pages appear on our website that are automatically created by this plugin. These are the Account, Product, Cart, Refund Policy, and Checkout Pages.
You can view the default layout by going to the Pages section and viewing each in a new tab.
Step 5: Add your first Product
To test the layout of your product page, add a new product to your online store.
- Go to WordPress Dashboard.
- Click on Products.
- Click Add New Product.
- Add Product Title, Description, Product Data, and category information.
- Add Product Image and gallery from the right sidebar.

