WordPress’s maintenance mode allows you to take your website offline whenever you want to update it. This improves the customer experience because these visitors are less likely to encounter errors while browsing your website.
With the help of some feed timer, you can indicate when the update is expected to complete.
Table of contents
What is WordPress maintenance mode?
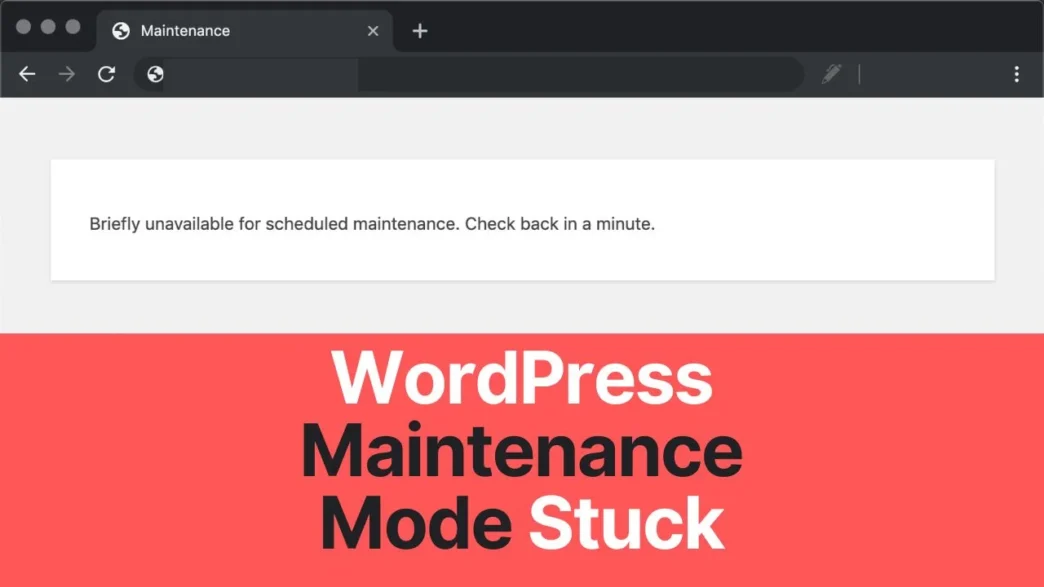
WordPress maintenance mode is a situation when your website becomes unavailable for visitors whenever it is updated.
This shows a simple message “Under Maintenance” that informs visitors that the site is undergoing a repair process and is expected to be updated soon in the future.
This mode automatically works when you update your plugins, themes, or core files of WordPress. In case of updates, WordPress should come out of maintenance mode and make your site usable again.
When should you put WordPress in maintenance mode?
Maintenance mode is a simple and convenient tool that you can use whenever you want to make changes to the basic structure of your site.
Some common situations in which you might want to use maintenance mode include:
- Working on new designs for your site
- Solving any bug or other problem
- Updating the themes or plugins
- Changing the navigation bar
Guide to Fix WordPress Stuck in Maintenance Mode
Now that we have some background knowledge of the mentioned issue, let’s proceed with step-by-step instructions on fixing WordPress stuck in maintenance mode.
1. Deleting Maintenance File
The first step in troubleshooting the problem is to delete the maintenance file on your WordPress hosting. Access your website via an FTP client or the file manager provided by your hosting company. Find the maintenance file in the root directory of the WordPress installation and delete it.
After copying the file, try again to copy the result to your site. After everything is done, you need to exit your site maintenance mode.
2. Deactivating All Plugins
If even after switching off the maintenance mode, the problem still persists, then in the next phase you will have to disable all of your plugins one-by-one.
To do this, go to your WordPress dashboard, then go to the plugins page, and select the plugin. Click on the deactivate button. Try this for every plugin and check if the problem is resolved.
Once all plugins are deactivated, check if your website is now working or not. If the issue is resolved, now, you can activate your plugins one by one. After activating, you can test your site thoroughly so that you can identify the plugins that are causing the problem.
3. Switching to a Default Theme
Even after disabling the plugins, if the issue still persists then you should switch to the default theme.
Go to your WordPress dashboard, go to the appearance section, and choose the theme.
Activate the default theme like twenty-twenty-four and check whether your website is online again or not. If yes, the issue might be with your previous theme. Consult the theme support for help or check out similar themes with the updated WordPress version.
How to Fix WordPress Stuck in Maintenance Mode
To solve this problem, we have created a detailed tutorial to quickly fix crashes in WordPress maintenance mode, which you can access here.
1. Remove .maintenance file:
The easiest way to take your WordPress site out of maintenance mode is to delete the maintenance file. You will need to access your site’s root folders via SSH/SFTP, and then delete this file.
You will find this file directly in your website’s root folder (public_html).
public_html/ and delete the file named as .maintenance
2. Deactivate plugins:
You can rename your plugin directory with plugin-backup.
public_html/wp-content/plugins
public_html/wp-content/plugins-backup
Try renaming your plugin folder, but if everything is getting less convincing, put the directory name back to its original name.
Therefore, disable all the plugins available on your site and enable them again, through this command, check which plugins are disabled:
wp plugin listNow you can deactivate all these with
wp plugin deactivate --allTo activate plugins again, you can use
wp plugin activate --allYou can also activate them one by one with plugin name.
wp plugin activate plugin-name3. Edit wp-activate.php:
This file can be found in your website root folder like a maintenance file, If the above given 2 methods not working. You can solve the problem by editing 1 line of code in the file. To access the file via SSH/SFTP, open the file and find this line:
define ('WP_INSTALLING', true)Change true to false, then the code will look like this:
define ('WP_INSTALLING', false)Exit by clicking the save button and see if the issue is resolved.
Let me know in the comment section if your issue was resolved, or if it is presisting. It will help other readers to solve their problems.

